Tuesday, March 8, 2011

chartplotter

I wanted to mount my new Garmin 740s where it would be usable from the cabin and the cockpit, so a swing mount made sense. My companionway is lined with hand holds, and the inner cabin wall housed the compass and a light fixture, making room tight. I couldn't find a manufactured mount that fit right, and I didn't trust the PVC option (from a recent Good Old Boat magazine) to hold up a couple thousand dollars in electronics.

I had a foot-long teak 1x4 laying around, so I bought a small teak cleat mount, a 1/2"x3" stainless bolt, a nut, and some washers.

I first notched the cleat base so it would fit over companionway trim, and beveled it so the "top" (which fases down in this application) was level. I drilled a 1/2" hole, and using my wood chisel recessed the head of the bolt and expoxied the bolt in place. The block is secured with 2 1/4"screws into the companionway frame. A stack of washers provides clearance. The GPS is mounted on the provided bail mount, installed upside-down. A pair of heavy stainless fender washers sandwich the teak "arm" to provide a bit of extra support, and a stainless lockwasher keeps everything in place. I'll probably locktite the nut once everything is settled in. I'll take it all apart and finish the wood - eventually.


P3083755
Cleat base notched, beveled, and drilled

P3083756
recessed bolt

P3083757
mounting pilot holes drilled in companionway frame, through trim

P3083758
Finished product. The internal GPS works great, even through the bracket, teak board, cabin top, and dodger!

P3083759
The hinge point
Next up: Installing a transducer and my new GMR 18 radar dome.

GARMIN 200/50 KHZ 12/45 DEG. ADJUST IN-HULL TRANSDUCER mounted under the starboard setee. It's glued on with 4200 and filled with mineral oil. I could only find foo-foo scented mineral oil at my local CVS, so the boat smells like a whorehouse now.

Closeup of the transducer mount. Performance has exceeded all expectations, and I have no holes in my hull.


 I decided to pull the mast to install the radar. I really liked the idea of having the radome up and out of the way rather than on a pole in the cockpit, and I'm pretty sure the mast hadn't been off since it went on in 1982.


KKMI hooked me up with a shed to work out of the rain. They're a little expensive, but the service is spectacular. I ended up pulling the mast on a Friday evening and sticking it back in the next Monday morning. Then I slept for a couple days.
Stick-less. Ouch.
The radar is mounted on a SeaView platform below the spreaders.


I added Antal fiber mast steps while I had the mast down. One of the best things I've done to the boat.
All new wiring, including the radar wire. I spent most of the weekend trying to stuff all that shit through the mast-to-deck hose and fittings.

Ta-Da! 

Tuesday, March 1, 2011

port gaskets

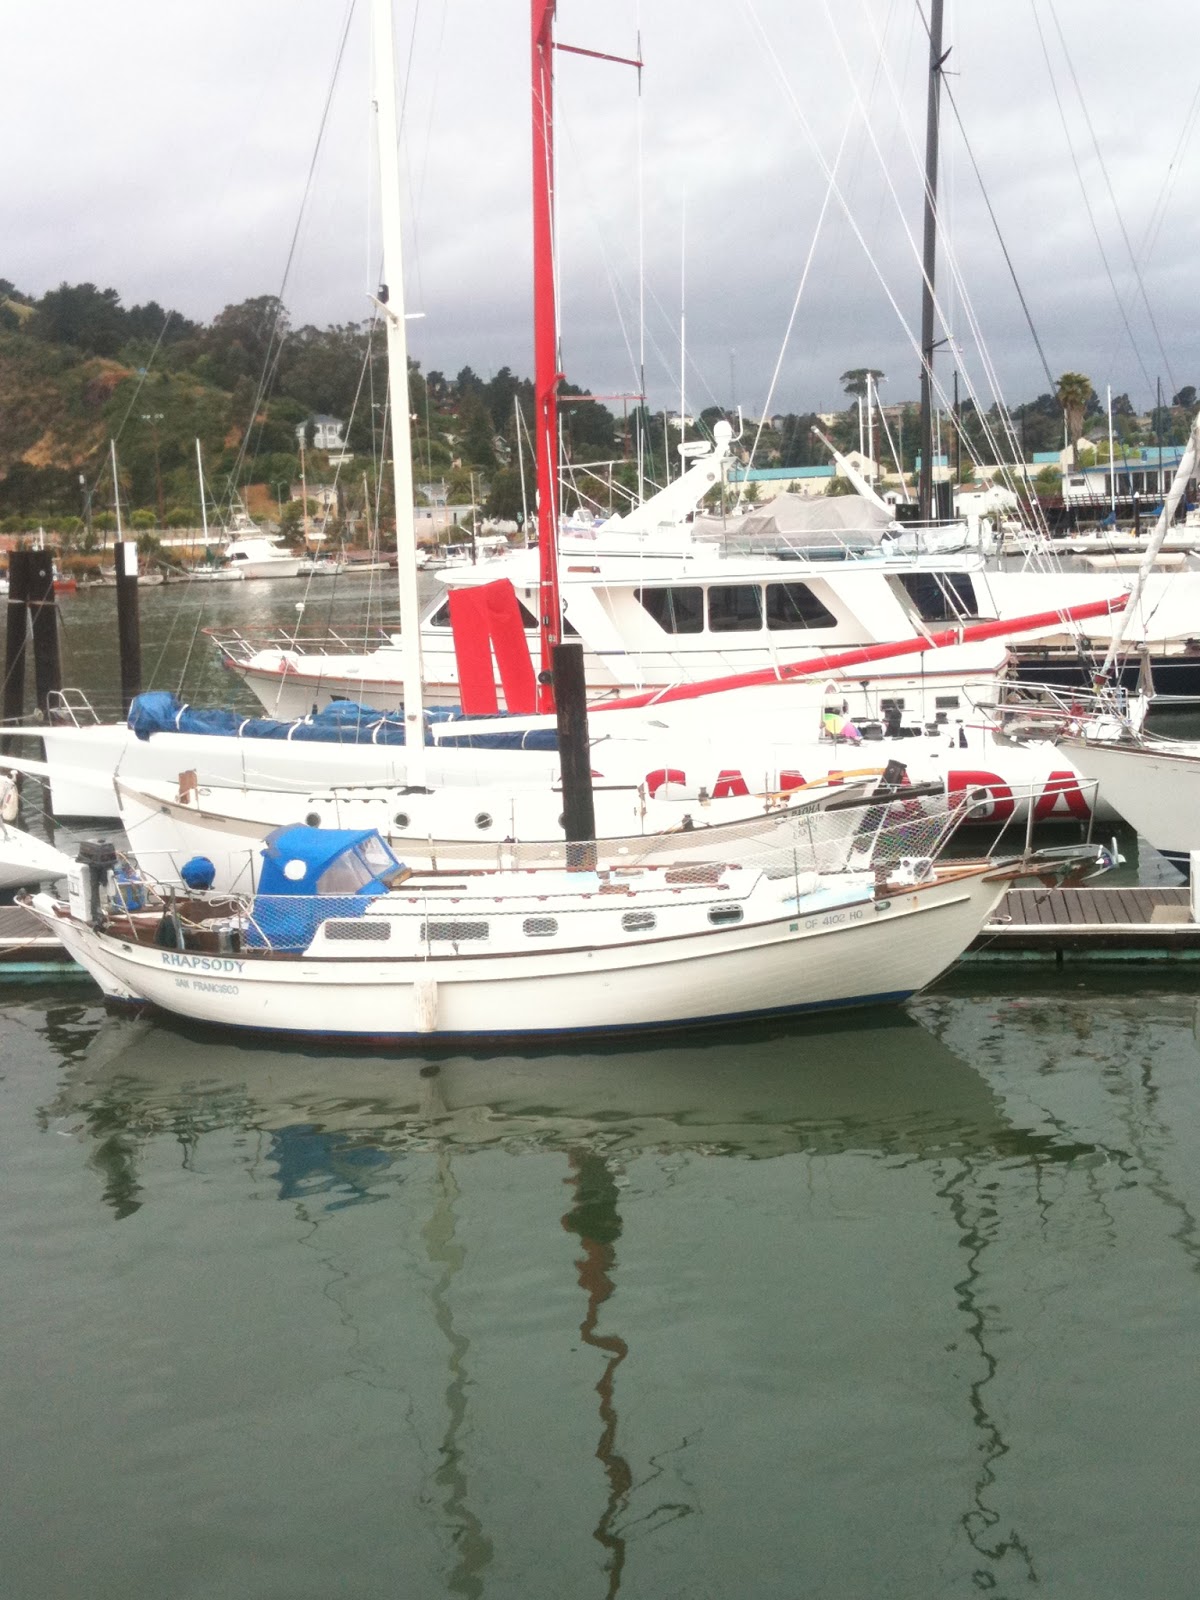
Rhapsody has 6 bronze opening ports, all of which came equipped with long-expired gaskets.

P2263717
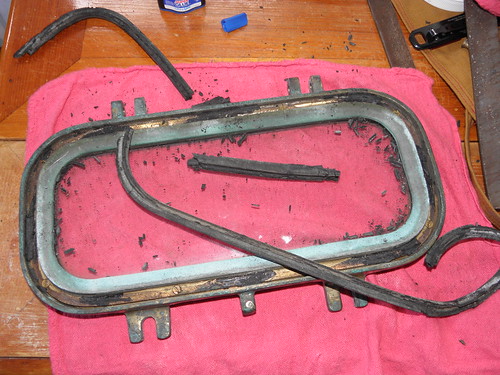
Crunchy rubber. This was one of the "good" ones!
I order 5/16 inch square Buna-N O-ring cord stock from McMaster-Carr.

I'll take this opportunity to just say thanks. The service was exactly what online service should be, but very rarely is. I'd done some research, figured out what I wanted, and found it online. I halfheartedly clicked the "order" button about 5PM, hoping I'd get something in the mail in a week or two. Around 9AM the very next morning my package arrived, all for a shipping charge of five dollars and thirty-three cents. So, McMaster-Carr, thank you!

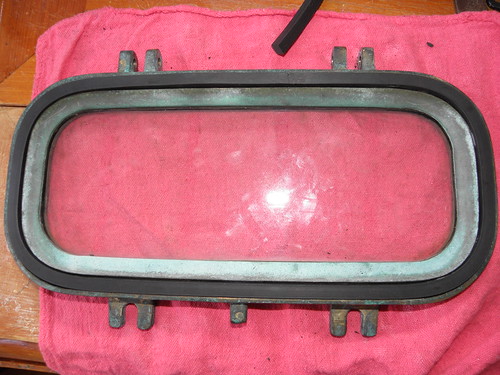
I carefully cleaned out the old gaskets, tightened the screws, checked the glazing, and fitted the new gasket material into the groove. I sealed the ends with a dab of flexible super glue, and did not seal the rubber to the frames in any way. Reinstallation went as expected, although the rubber was not as flexible as I'd have hoped.
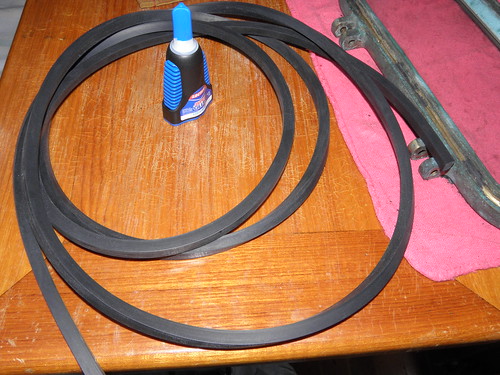
P2263719
Rubber and glue

The ends of the rubber were joined on top of the portholes, where imperfections are not likely to cause leaks anyway. I used my trusty re-appropriated 
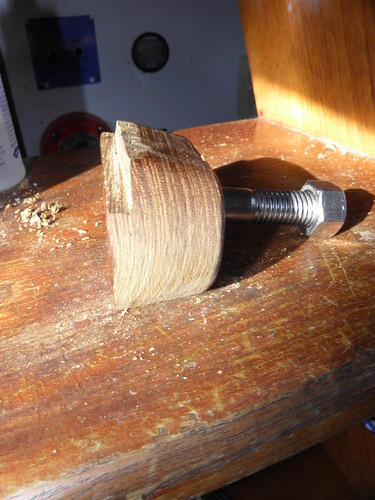
garden snips to trim the rubber to fit.

P2263722
Prepare to snip....

P2263725
Ready for reinstallation. The joint is under the cordstock/pointer, just to the right of center
Everything got a good coat of Lanacote (why not?!) and was re-installed. So far, so good....